Export your game and get players connected.
Publishing Your Game
Once your game is ready, the Studio provides tools to package and deploy it for players.
Building a Player Launcher
The Studio can export a standalone Player Launcher — an Electron app that connects to your game server:
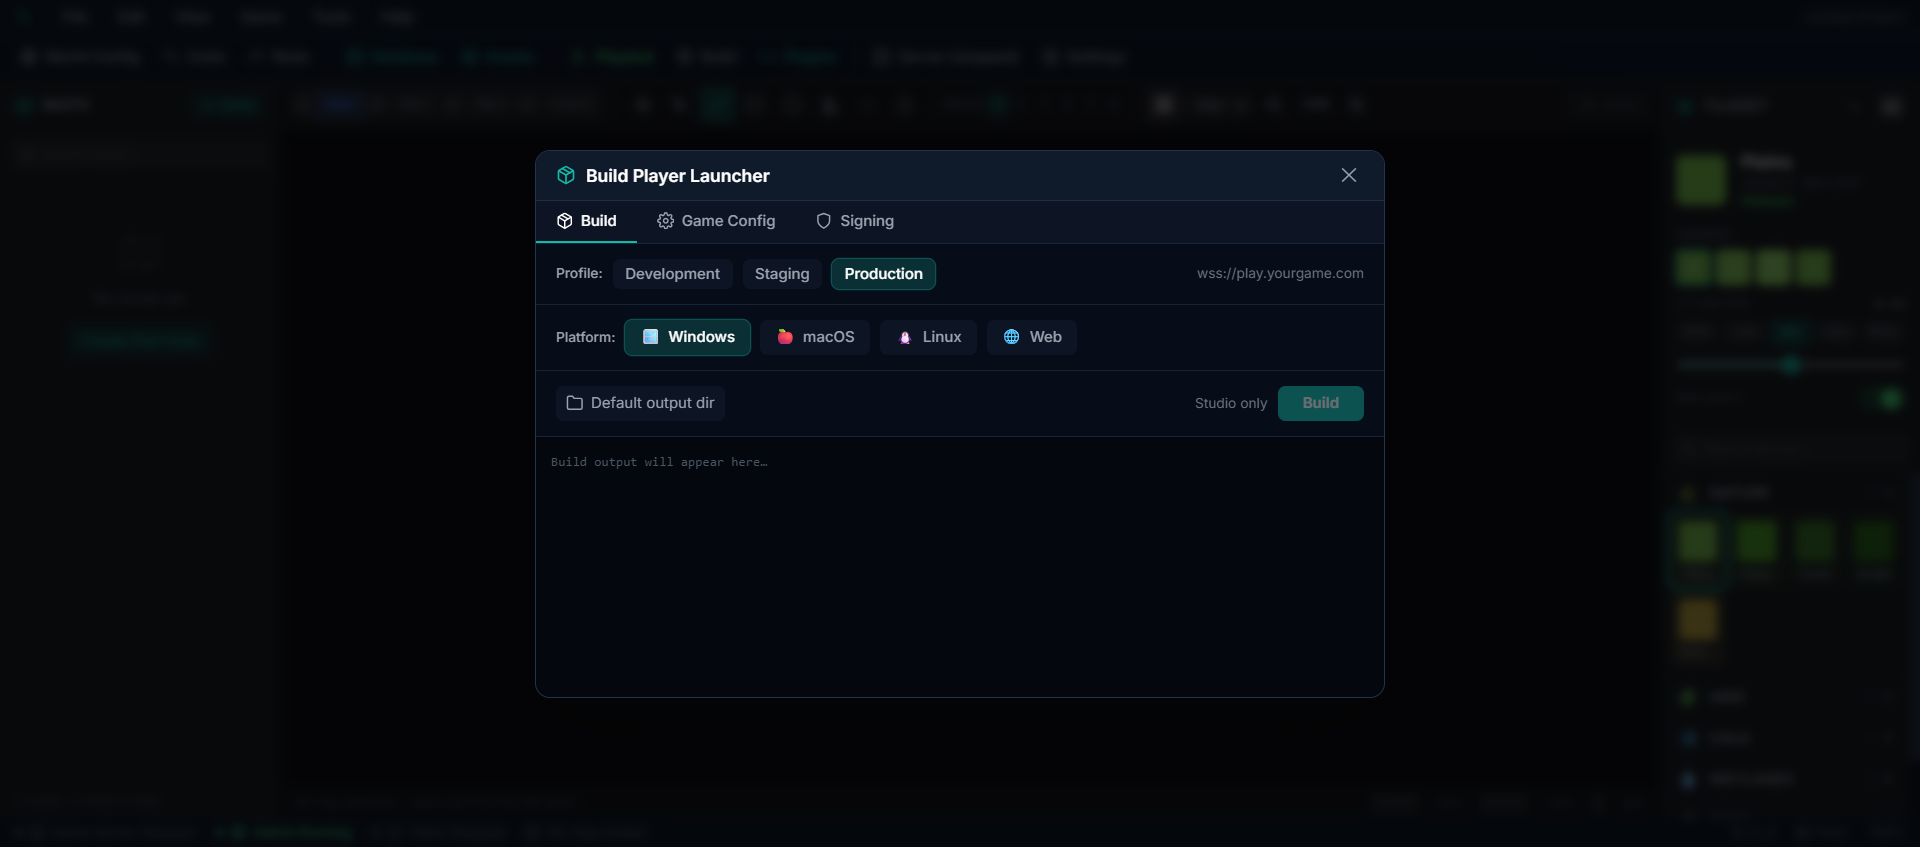
How to Build
1. Open Settings → Build in the Studio 2. Choose your target platforms (Windows, macOS, Linux, Web) 3. Select the Production profile 4. Configure the server URL — this is where your game server will be hosted 5. Click Build to generate the launcher
The result is a downloadable installer that your players can use to connect.
Hosting Your Game Server
To let players connect from anywhere, you need to host the game server online. Options include:
| Hosting Option | Best For |
|---|---|
| VPS (Virtual Private Server) | Full control, affordable (DigitalOcean, Linode, Hetzner) |
| Dedicated Server | Large player counts, best performance |
| Cloud Platform | Scalable (AWS, Google Cloud, Azure) |
The game server needs:
- A machine running Linux, Windows, or macOS
- At least 4 GB RAM (8–16 GB recommended)
- A stable internet connection
- Ports open for WebSocket connections
Database
For production, use a proper PostgreSQL database instead of the local embedded one:
- Most hosting providers offer managed PostgreSQL
- The Studio can connect to remote databases via the Database Mode setting
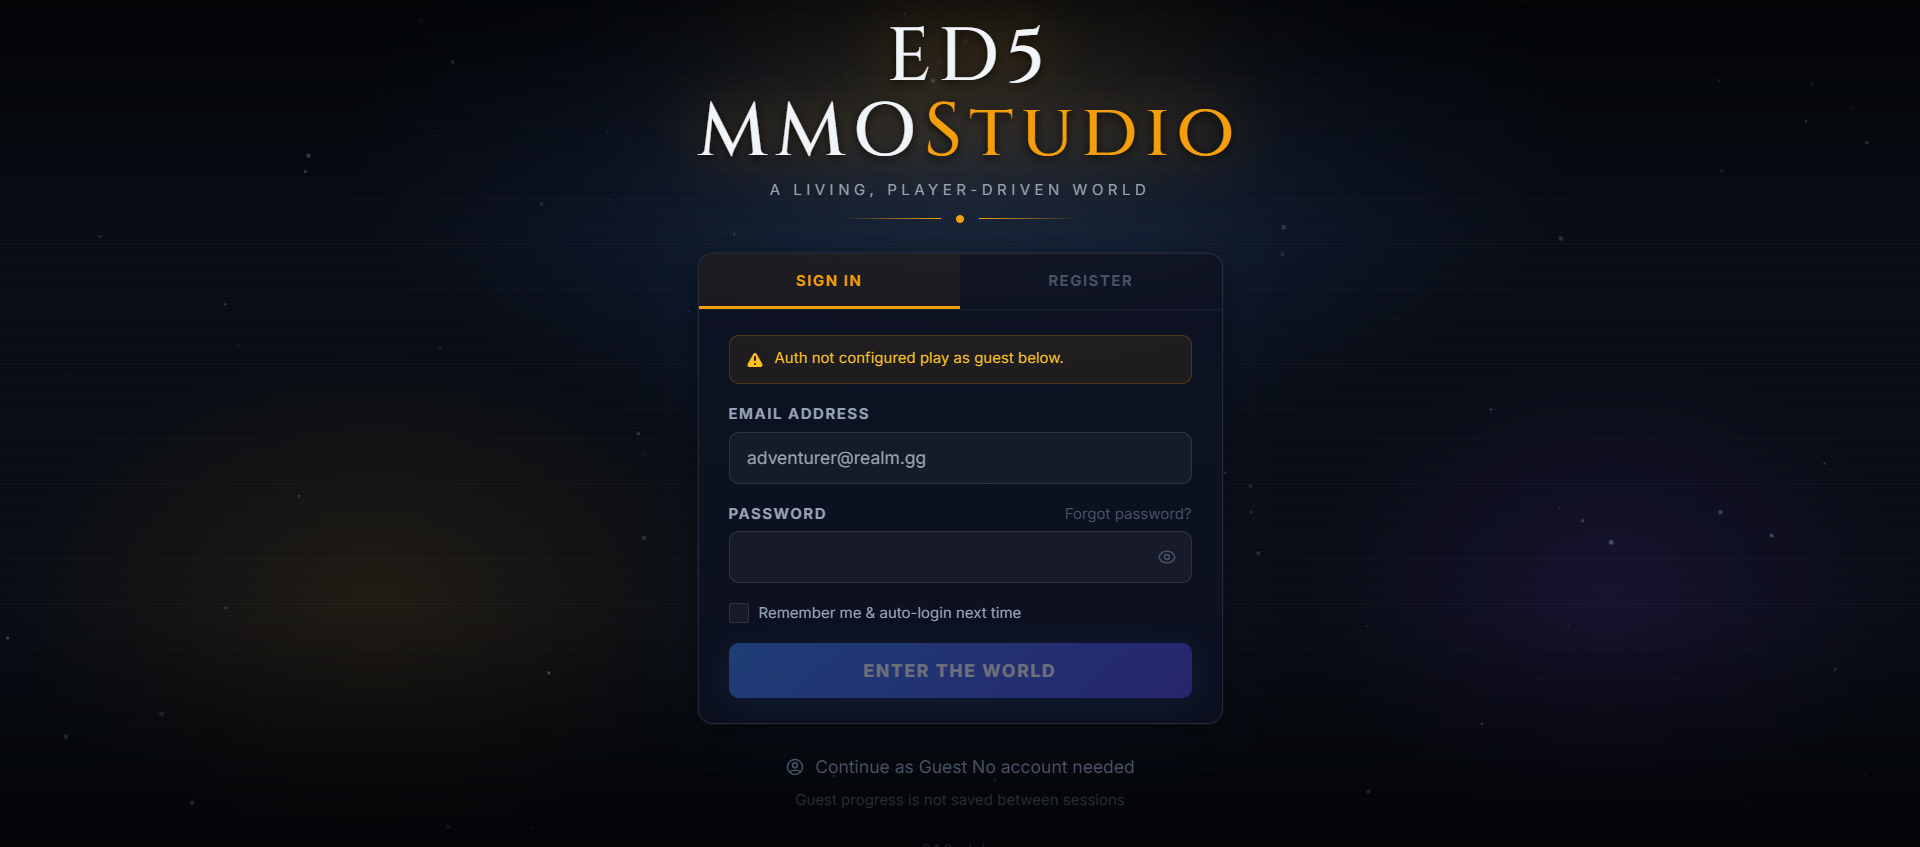
Player Connection
Once hosted, the game client connects via WebSocket:
- Default port: 3001
- Secure connections: Use HTTPS/WSS with a reverse proxy (nginx, Caddy, etc.)
- Players access the game through the Player Launcher or a web browser
What Players Need
| Method | Requirements |
|---|---|
| Player Launcher | Download and install the exported launcher app |
| Web Browser | Navigate to your game's URL — no install needed |
Monitoring
Keep an eye on your game server's health:
- Tick time — should stay under 50ms for smooth gameplay
- Player count — active WebSocket connections
- Memory usage — should remain stable over time